|
Daniel Hartlehnert
website
|
|
|
|
Size:
2.6 Mb
Platform:
Mac/PC
|
 infos infos: LightRig is a plug in, Occlusion is a shader. More info go to Konkeptione
|
|
| Radiosity (simulation) tutorial |
| |
page 2
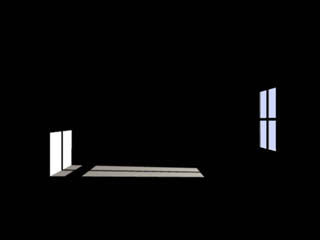 |
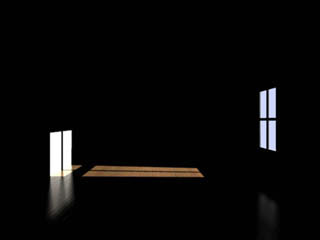
6.) Render a sample and you should get this or something like it. |
Add textures in EIAS.
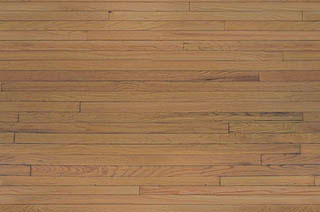
7.) If you plan to texture your model now is a good time. For the purpose of this tutorial I will add a floor texture material that I created from the floors in my house. it has the following characteristics.
a.) Diffuse channel has a bit map of the wood floor. Base settings are default. The texture tiles to cover the floor to define the scale and is set to RGB channel only .
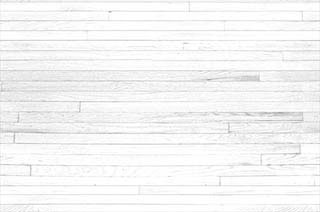
b.) Bump channel is a copy of the diffuse with use alpha only set to bump of 1. Bump is custom art I created from the diffuse channel using levels and pasted into the alpha in Photoshop.
c.) specular channel is a copy of the bump channel. The specular settings are, amount =.36 , size = 14.56, falloff = 1.0
|
|
|
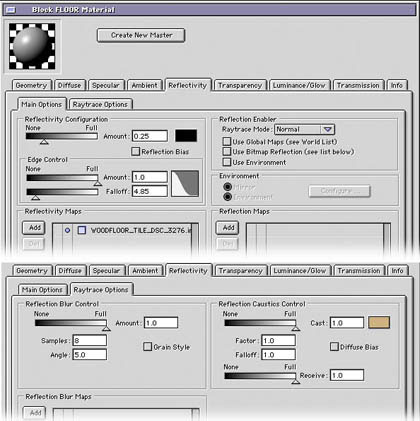 |
d.) Reflection channel is a bit complex . See the settings in a screen grab. |
 |
Any other textures that you wish to apply do so now. This is important because light rig will set the color and intensity of the rigs lights based upon a map that will get its info from the textured surfaces. If you want to bounce colored light from a surface this is what will do it.
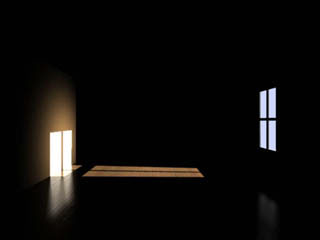
8.) Render a sample and it should look like the image on the left.
|
 |
9.) Now that we have a texture on the floor which is a shiny reflective surface if you looked carefully to the reflection settings above you would have noticed that I set the caustics to on full with a color selected that matches my floor map. So go to your Sun light and turn caustics on to the default setting.
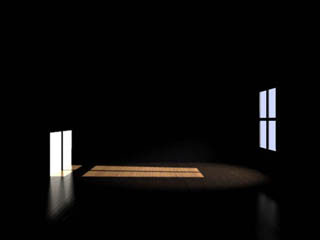
10.) Now render the image again. Your results should look like the image on the left. |
Now turn caustics off in the render flags. If we decide to use this it will be as a separate pass and we don't want it to influence the Light Rig arrays while we are building our lighting solution.
For the purpose of this tutorial I will not do any elaborate texturing of the other walls or ceiling, but you could do this if you wanted. I will set the walls to Diffuse color white with an amount setting of .75 and no specular. The ceiling will be set to white with amount of .85 and no specular.
11.) The final detail before we start using Light Rig is to produce a bit of ambient spill from the window. I do this with a raytraced soft light. First copy your sun light. Using the view through the camera method dolly in closer to the window. About 5-10 GU is a good distance. Zoom out the view to make sure the window is covered. Place the reference at the center of the light spill from your key light. Raise the light to about a 45 degree angle. This light will be simulating the spill from the sky through the window. Since it is coming from sky light this light should be colored a bluish color, a setting of 3(depends upon the color) for the intensity is good for our sample and the light size should be large enough to in theory cover the potential views through the window of the sky. In this case a size of 12 in the raytraced shadow tab will do fine and I've found that you should turn off the optimize shadow setting since it results in artifacts. Also turn off highlights for this light. I tried to use an array of lights but it produced too much pattern to be of use. The ray traced soft light seems to be the best for this particular use with a small window.
12.) Now render the image again . This may take a little while because of the raytraced soft light. Your results should look like this : |
 |
|
|
|