|
|
|||||||
|
Gustavo Muñoz website |
|
Size:
0 ko
Platform: Mac/PC |
|
infos: |
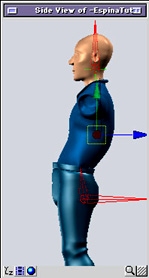
| Controling the Spine |
| We can lock and hide the geometry bones, which we will not animate. And now let´s take a look at the uses of our 4 control bones. The root bone "EVERYTHING" is used just to position and orient the full model at the beginning of every animation proyect. The first animating bone is "UPPERBODY", which carries the translation and orientation of the full body as a whole, leaving us the 3 other controlers to build the pose of our character with more detail |  |
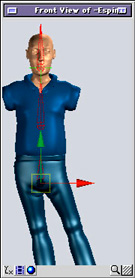  |
We can see how the traslation of "UPPERBODY" moves the full body at once. The legs are driven by two IK solvers wich are parented to the root, so they stay in place when you move the body, as usually. Same for the arms, hidden at the examples. |
   |
|
|
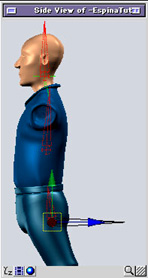
The rotation of "UPPERBODY" also tuns the full body of the character from it´s center of gravity. |
|
   |
|
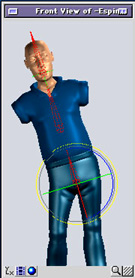
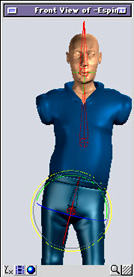
| In contrast with "UPPERBODY", the "PELVIS" controler just animates it´s local volume, almost independently from the rest of the body, The head and the torso remains in place. That´s a very interesting aspect of this setup, because at animation time it will let us to refine some part of a pose without disturbing too much the rest of the actitude. |
|
   |
|
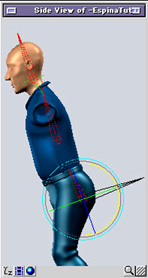
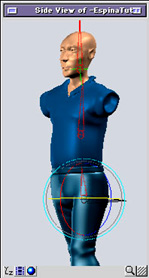
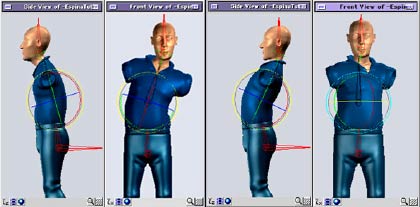
| This way, the rotation of the "PELVIS" controler also affects only this zone, leaving intact our pose work in the rest of the character. Only in the example at right I have moved just a little the "TORSO" controler, in order to get a more nice blending :)
Now for the "TORSO" controler: |
|
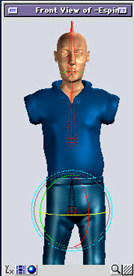
| We can see here how it´s translation afects not just the torso area, but also moves the head, as usually needed. |
|
 |
|
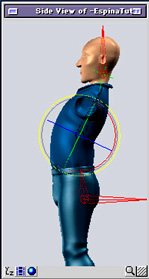
| But here you can observe that the "TORSO" rotation only affects the traslation of the head, leaving it´s rotation behave independently. That is also a very usefull detail in production time, in order to get a convincing animation in less time and with less effort. |
|
 |
|
|